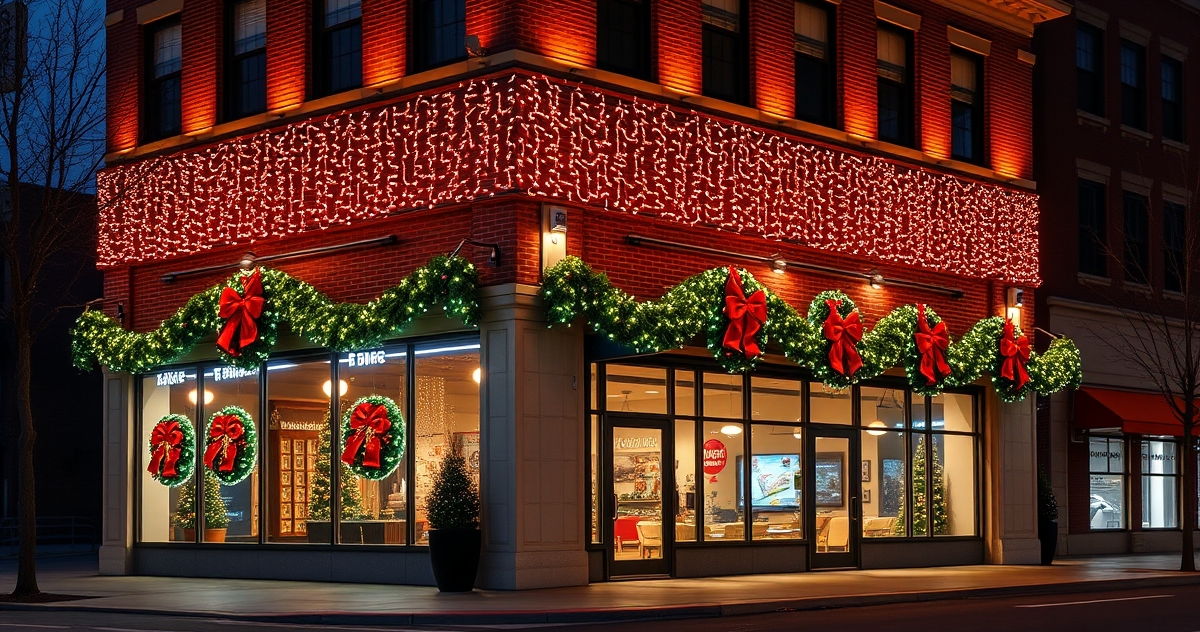
The gentle glow of mini lights spiraling up a mature oak trunk creates one of the most enchanting winter scenes in Connecticut. But walk past many decorated trees in December, and you'll notice the telltale signs of amateur wrapping: uneven spacing, loose sections drooping after the first snowfall, and lights that spiral backward halfway up the trunk. Professional tree wrapping transforms bare winter trees into luminous pillars that anchor your entire holiday display.
Understanding Tree Wrapping vs Branch Wrapping Techniques
Most homeowners confuse trunk wrapping with branch wrapping, but these are distinctly different techniques that serve unique purposes in residential holiday lighting design. Trunk wrapping focuses exclusively on the main stem and primary branches, creating clean vertical lines of light that emphasize the tree's structure. Branch wrapping extends out to smaller limbs, creating a fuller, more traditional Christmas tree appearance.
For Connecticut's landscape trees—the stately maples, towering oaks, and graceful birches that define New England yards—trunk wrapping with warm white mini lights provides elegant winter interest without overwhelming the natural form. Save the full branch wrapping for evergreens where you want maximum light coverage.
The key difference lies in your starting point and wrapping pattern. Trunk wrapping begins at the base and spirals upward in consistent bands, while branch wrapping starts from the trunk and works outward along each limb. Professional installers typically choose one technique per tree to maintain design cohesion across the landscape.
Light Spacing Calculations for Professional Results
Proper spacing separates amateur holiday displays from professional installations. For trunk wrapping with mini lights, the golden ratio is approximately 4-6 inches between each spiral wrap on trees with 12-24 inch trunk diameters—the size range typical of mature Connecticut landscape trees.
Here's the professional calculation method: Measure your tree's circumference at chest height, then multiply by the planned wrapping height to determine total linear feet needed. For example, a 20-inch diameter maple (63-inch circumference) wrapped to 8 feet requires approximately 504 linear inches of circumference coverage. At 5-inch spacing intervals, you'll complete roughly 19 complete spirals around the trunk.
Cool white mini lights work exceptionally well for this geometric approach, as the crisp illumination highlights the mathematical precision of your spacing. Purchase 20% more lights than your calculation suggests—Connecticut's unpredictable weather means having backup sections readily available for quick repairs.
Professional installers adjust spacing based on viewing distance as well. Trees viewed from across the yard can handle slightly wider spacing (6-7 inches), while specimens near walkways or driveways benefit from tighter wraps (3-4 inches) that create more dramatic impact up close.
Securing Mini Lights Without Tree Damage
The most critical aspect of tree wrapping involves securing lights firmly without compromising tree health. Never use nails, staples, or screws directly into bark—these create permanent wounds that invite pests and disease, particularly problematic for Connecticut trees already stressed by harsh winters and occasional ice storms.
Professional-grade installation relies on specialized tree clips and wrapping techniques that work with bark texture rather than against it. For smooth-bark trees like maples and birches, use clear plastic tree clips spaced every 12-18 inches along your light runs. These grip the wire without puncturing bark and remain nearly invisible once installed.
Rough-bark trees like oaks and hickories offer natural securing points where lights can nestle into bark crevices. Gently press warm white mini lights into these natural grooves, using minimal clips only where the bark is particularly smooth or where the spiral changes direction around large trunk flares.
The professional secret involves starting your wrap with a secured anchor point at the base, then maintaining consistent tension as you spiral upward. Too loose, and your lights will sag after the first snowfall. Too tight, and you risk damaging both lights and bark as the tree sways in Connecticut's winter winds.
Professional Installation Techniques for Connecticut Weather
Connecticut's climate demands specific adaptations to standard tree wrapping techniques. Our region's temperature swings—from January lows near zero to occasional December thaws in the 50s—create expansion and contraction cycles that can destroy poorly installed light displays.
Professional installers compensate by leaving slight slack at regular intervals, particularly where light strings transition from one section of trunk to another. This "expansion joint" technique prevents lights from pulling apart during extreme cold snaps that cause both wire and tree bark to contract.
Start installation during Connecticut's optimal window: late October through mid-November, when temperatures remain consistently above freezing but before heavy snow makes ladder work dangerous. Begin at the base with your power connection point positioned where extension cords can reach without crossing walkways or driveways.
Work systematically upward, maintaining your planned spacing while constantly checking that each wrap lies flat against the bark. Professional teams typically assign one person to handle the lights while a second maintains proper ladder position and monitors overall spacing consistency from ground level.
Maintenance and Troubleshooting Throughout the Season
Even perfectly installed tree wrapping requires seasonal maintenance to maintain professional appearance through Connecticut's unpredictable winter weather. Plan monthly inspections focusing on connection points, clip security, and overall light function.
After major storms—particularly the ice storms common in central Connecticut—check for sections where clips may have loosened or where ice accumulation has stressed the light strings. Warm white mini lights show damage more readily than multicolored options, making problems easier to identify and address quickly.
Keep replacement clips and a spare section of matching mini lights readily accessible. Connecticut homeowners who invest in professional-quality installations often maintain their displays independently, but having professional design consultation available for major repairs ensures consistency with the original installation.
Professional maintenance includes testing all connections monthly and tightening any clips that may have loosened due to thermal cycling. Most importantly, never attempt repairs during active precipitation or when temperatures drop below 20°F—both the lights and installation materials become brittle and prone to damage.
Frequently Asked Questions
How many mini lights do I need for tree trunk wrapping?
Calculate approximately 100 lights per foot of tree height for standard trunk wrapping. A 10-foot trunk typically requires 1,000-1,200 mini lights, depending on trunk diameter and desired spacing. Connecticut's mature landscape trees often need 1,500-2,000 lights for full trunk coverage to the first major branch layer.
Can I leave mini lights on trees year-round in Connecticut?
While LED mini lights can technically remain installed year-round, Connecticut's harsh winters and summer storms make seasonal removal advisable. UV exposure during summer months degrades wire insulation, while winter ice storms can damage permanently installed displays. Professional installers recommend seasonal installation for optimal longevity.
What's the difference between warm white and cool white for tree wrapping?
Warm white mini lights (2700K-3000K) create a cozy, traditional appearance that complements Connecticut's colonial and traditional architecture. Cool white lights (5000K-6500K) provide crisp, modern illumination that works well with contemporary homes and creates dramatic contrast against snow. Choose based on your home's architectural style and existing landscape lighting.
How do I prevent mini lights from tangling during installation?
Professional installers use the "feed from the box" method—keep light strings in their original packaging and feed directly from the box as you wrap. This prevents tangling and makes it easier to maintain consistent spacing. Work with one 100-light section at a time, completing each section before moving to the next.
When should I remove tree wrap mini lights in Connecticut?
Remove mini lights by late February or early March, before trees begin active spring growth. Connecticut's maple sugaring season provides a good timeline reference—remove lights before sap starts running to avoid sticky cleanup and potential bark damage. Store lights properly for reuse in the following season.
Professional tree wrapping with mini lights transforms Connecticut landscapes into winter wonderlands that enhance property values and create lasting holiday memories. The techniques require patience and attention to detail, but the results justify the investment in time and materials. For homeowners seeking flawless installation without the learning curve, professional holiday lighting services ensure your trees receive the expert treatment they deserve while you enjoy the spectacular results all season long.